How To Build Saw HorsesPosted by Eli Larreau
Here is a simple design for building sturdy sawhorses. I have been making these sawhorses for years. When I was framing houses I used these sawhorses with heavy loads of lumber on them and I have never had one fall over or collapse. I did have to add screws or nails occasionally to keep them up and eventually had to throw them out, but that is only after a great deal of heavy use and abuse. One big advantage to these sawhorses is that they are so cheap and easy to make that you don't mind abusing them. If you ruin a set, you can just build another one. I got the lumber for this set from a local lumber yard for free. They had a pile of boards that lumber deliveries came on that were just trash to them. I picked through and found enough good boards to make two sawhorses. Here's how I make them:
|
Materials list for each sawhorse:
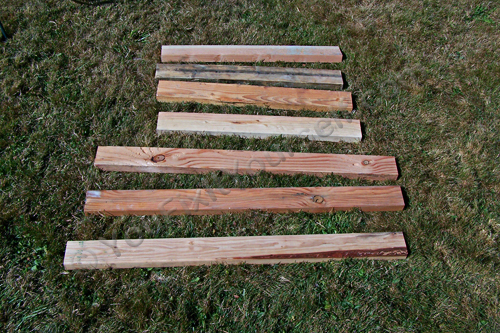
- 4- 2X4s at 36 inches long
- 3- 2X4s at 42 inches long
- 3 inch screws or nails
Tools you will need:
- Saw for cutting the 2X4s to length
- Nail gun, screw gun, or hammer
- Carpenter's square
|
|
The first thing you need to do is cut the 2X4s to length. You can adjust the length of the legs and the beam to fit your needs. I find that for me 36 inches is a good length for the legs. You may want yours a little taller or a little shorter. Some people think that the legs should be 30 inches long on a set of sawhorses. I think it is a matter of comfort. What height is most comfortable for you? If your table is too low then you will have to bend over to work and that can be hard on your back. If you aren't sure you can make the legs longer and try it out. If it is too high you can just turn the sawhorse on its side and cut the legs shorter. The length of the beam can also be adjusted. If you need a smaller table you can make the beam 24 inches or if you are working with sheets of plywood you may want them 48 inches. I typically make them 42 inches long. And I just cut the ends square on everything. That keeps it simple. No angles to figure out. You can cut angles on the leg boards of your sawhorses if you want but I never have.

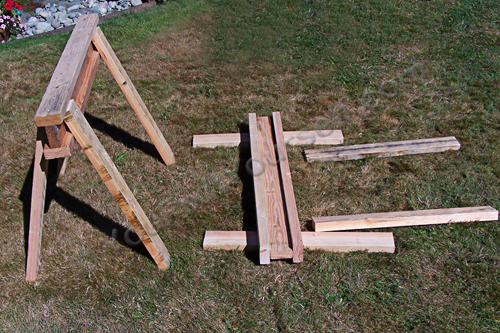
After you have your 2X4s cut to length you are ready to put your beam together. You need to put one of your 42 inch 2X4s on edge and lay another one across the top of it like a 'T'. Attach the two together using 5 fasteners. I prefer to use 3 inch deck screws. Then turn it over and put the other 42 inch 2X4 on the other side to make them into an 'I' beam. Run the screws deep so that you don't hit the screw heads with your saw when you are cutting across the top of your sawhorses. Try to get them down about 1/4 inch below the surface of the wood and then make sure you don't cut that deep when you cut across your sawhorses.

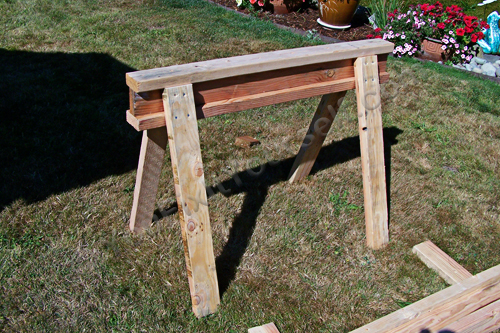
With your I-beam done you are ready to put the legs on you sawhorse. Lay your I-beam on its side like in the picture above. Then put a leg in place about 4 inches in from the end and nail or screw it in place. Use at least 4 fasteners like in the picture below. Again, I prefer to use the 3 inch deck screws but you can use nails to put your sawhorses together. You should pre-drill for the fasteners close to the ends of the boards so wood doesn't split. Put the two legs on one side and then flip it over and do the other side. When you are putting the legs on you can use a carpenter's square to make sure they are square with the I-beam. I normally just get the end of the leg tight against the I-beam and as long as I cut the leg boards square then it should be pretty close.

Now you are ready to put lots of lumber on your sawhorses. Some people like to put braces between the legs. I have never found it necessary and without them I can stack one sawhorse on top of the other to store them. They should be sturdy for a long time. If you find that they are starting to get a little wobbly, add a couple screws or nails to each leg and you can make them sturdy again.
Return to Articles |

